
Last updated October 16, 2026
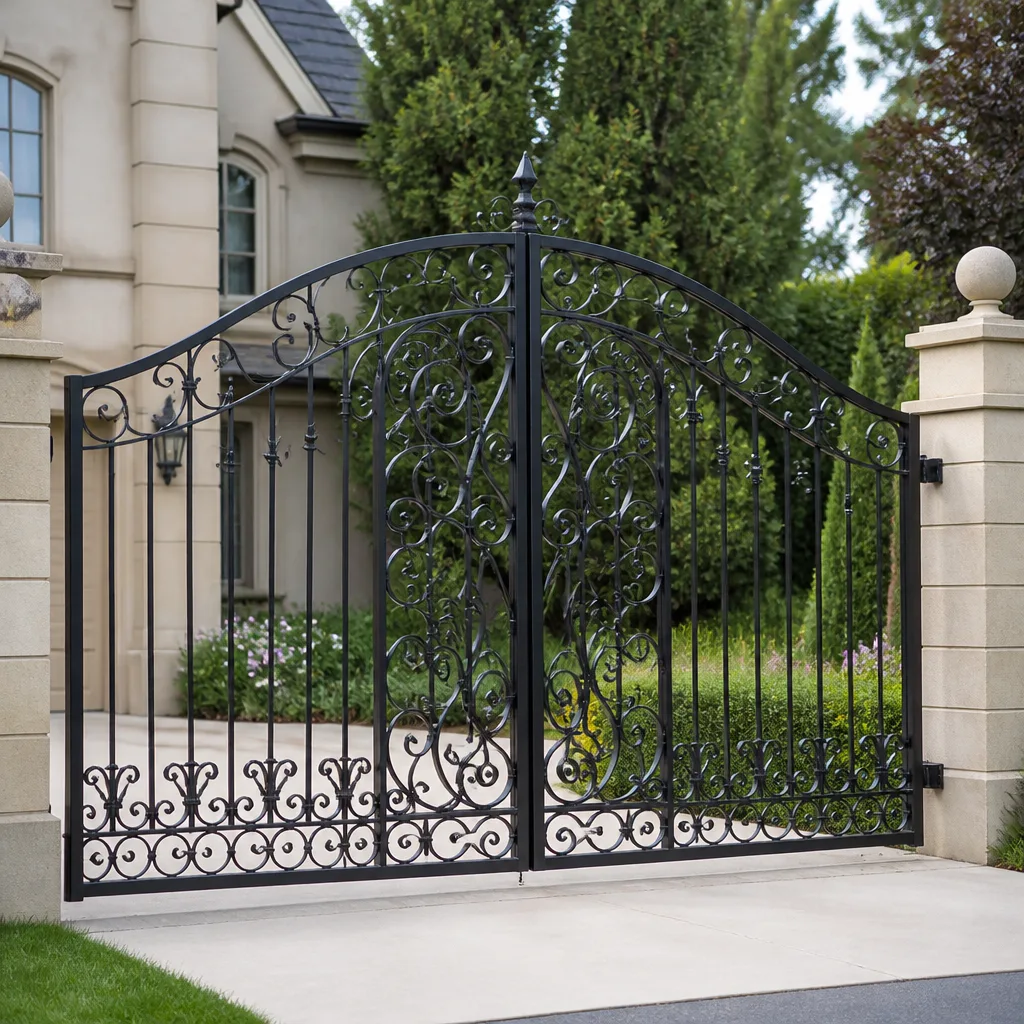 Wrought iron
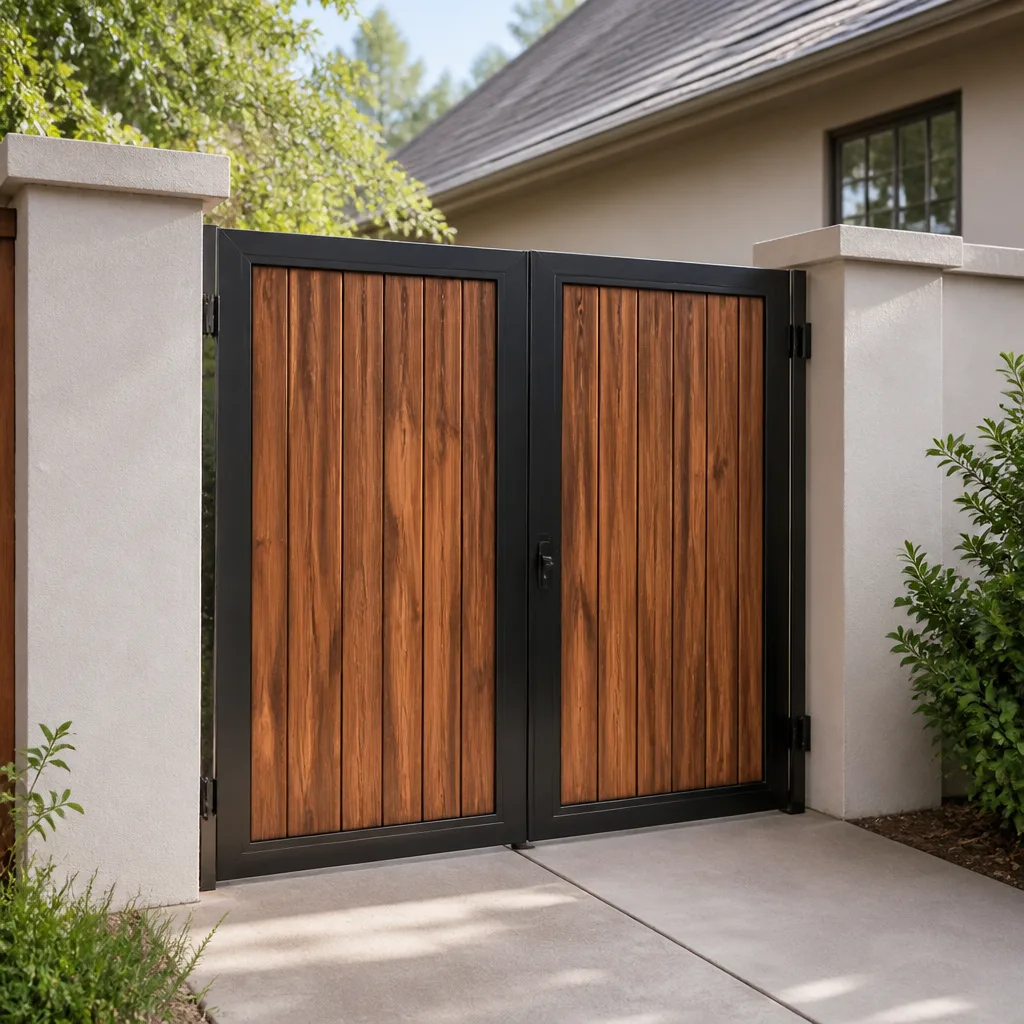 Wood & steel frame
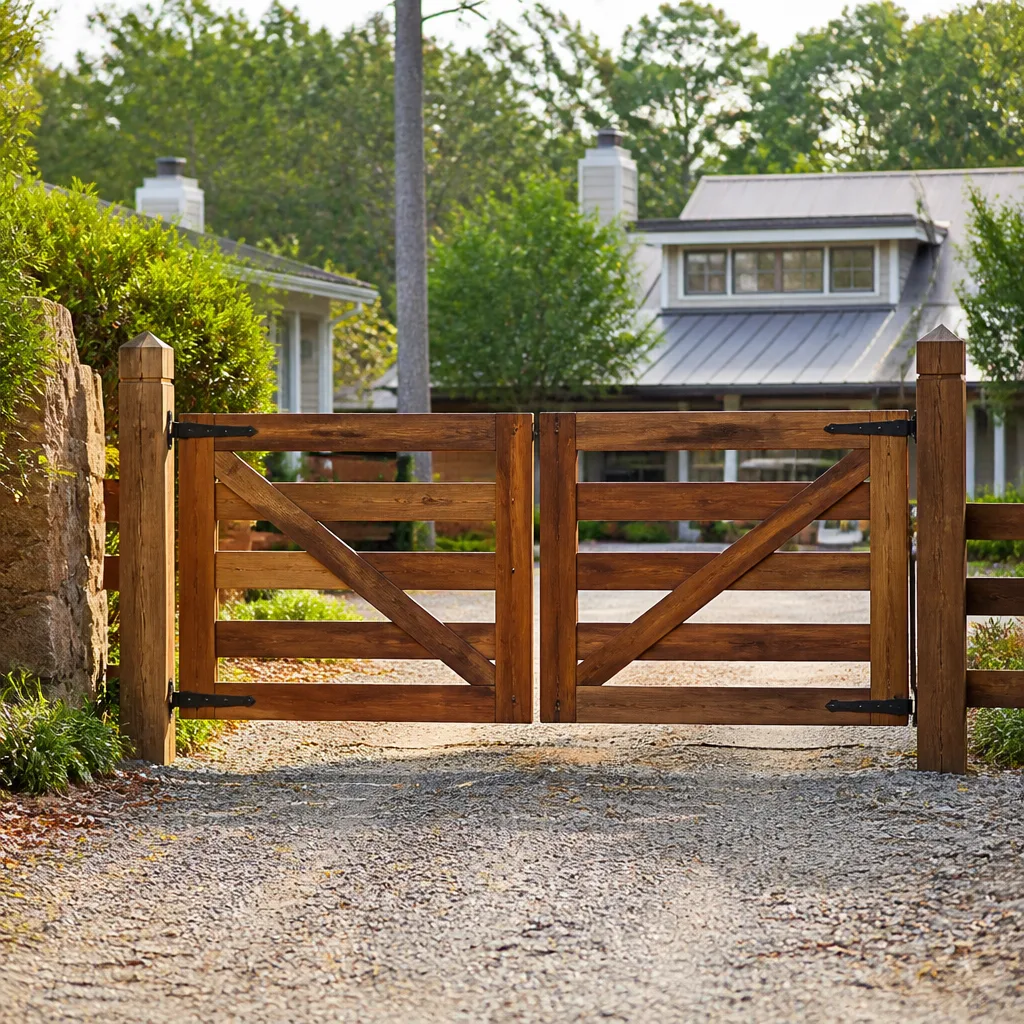 Farm & ranch
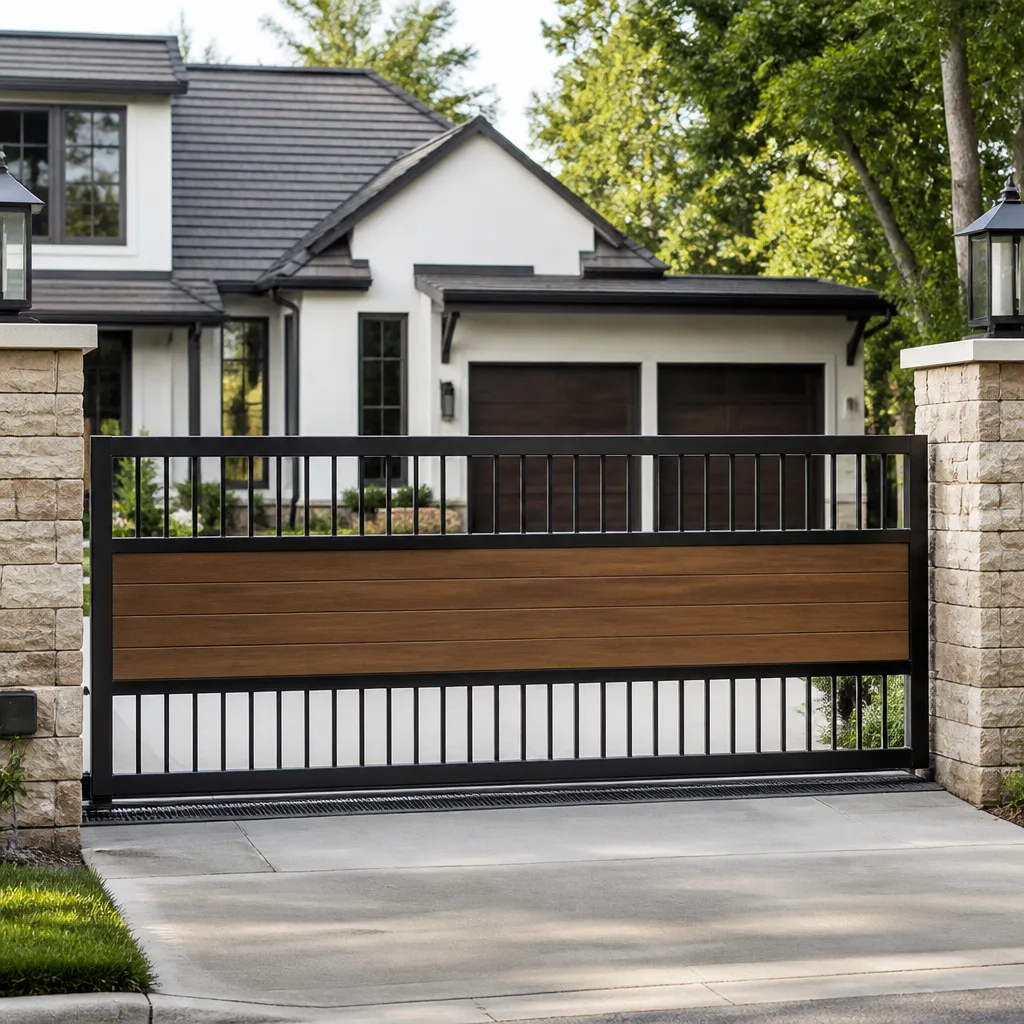 Sliding driveway gates
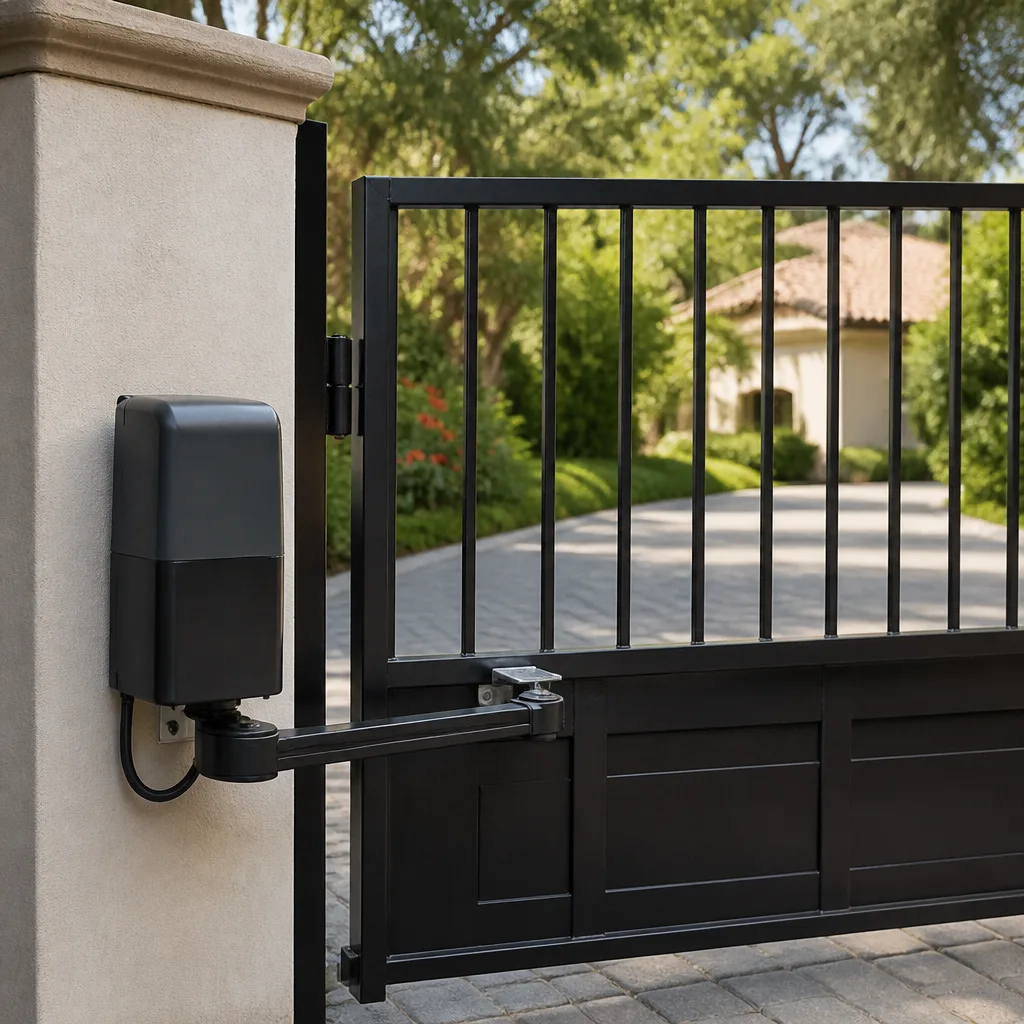 LiftMaster operators
Free on-site gate assessment - hinges, posts, and your LiftMaster or Nice gate operator checked before anything is quoted
The assessment is free and the quote is the invoice.
Get your free estimateGate Repair Maintenance Checklist for Yonkers Homeowners
WD-40 on a chain-drive gate opener is one of the most common homeowner mistakes we see in this business. It feels like maintenance. It smells like maintenance. But it strips the factory lubricant off the chain and accelerates wear within about 60 days. That’s the problem with most generic gate maintenance checklists you’ll find online: they treat every gate as if it’s the same machine, and they rarely tell you what not to do. For Gate Repair Warning Signs: A Yonkers Homeowner’s Reference Guide on spotting trouble early, see our companion post. This guide is different because Yonkers gates are different. We see swing gates on steep Dunwoodie slopes, slide gates on flat Colonial Heights lots, and wrought iron gates on century-old Park Hill homes that need an entirely different inspection routine than a powder-coated aluminum gate installed three years ago. By the end of this guide, you’ll know exactly what to check, when to check it, what to lubricate, what to leave alone, and how to keep a maintenance log that saves you real money when something does break.
Quick Answer
A proper gate maintenance checklist for Yonkers homeowners depends on three things: your gate’s drive type (swing, slide, or barrier arm), its material (wrought iron, powder-coated aluminum, or wood-framed), and whether your property sits on a slope. In general, you should inspect six components every 90 days (hinges, chain or belt tension, safety sensors, limit switches, track or roller condition, and the opener’s electrical connections) and three components annually (the motor’s internal gear, the control board’s capacitor health, and the gate’s overall alignment). Most importantly: never spray WD-40 on a chain drive, and always log what you find so a technician can skip redundant diagnostics when you call for Gate Repair.
Styles & brands we work with
Table of Contents
- First, Identify Your Gate Type: The Branching Checklist Starts Here
- Material-Specific Corrosion Checks for Yonkers Gates
- The 90-Day Inspection: Six Components to Check Every Quarter
- The Annual Inspection: Three Components That Only Need Yearly Attention
- Correct Lubricants by Component: Chain, Hinge, Rack, and Limit Switch
- How to Log Maintenance So a Technician Can Skip the Guesswork
- Common Mistakes to Avoid
- When to Call a Professional
- Frequently Asked Questions
First, Identify Your Gate Type: The Branching Checklist Starts Here
Before you touch anything, figure out which of three gate types you have. The maintenance routine for each is genuinely different, and doing the wrong one can create problems you didn’t have before. Here’s how to tell them apart in about ten seconds.
Swing gates are the most common in older Yonkers neighborhoods like Park Hill, Lawrence Park, and the estates along North Broadway. They open on hinges, either inward or outward, and the opener is typically a linear arm (piston-style) mounted on the gate and post. These gates put constant stress on hinges, and that stress multiplies if your property slopes. A swing gate on a downhill lean will pull against its top hinge every time it closes.
Slide gates roll on a track or cantilever system and are more common on newer Yonkers properties with flat, wide driveways, especially in Colonial Heights, Crestwood, and along Central Park Avenue. They take up less driveway space but need clean, debris-free tracks to function. A single oak leaf jammed in the track can trigger the safety reverse and leave your gate half-open.
Barrier arms are the rarest for single-family homes but show up at some Yonkers condo complexes and small apartment buildings. They’re simple: a motor spins a counterbalanced arm up and down. Maintenance is minimal, but the limit switches (the small sensors that tell the gate when to stop) wear out faster than anything else on these units.
Slope matters too. Yonkers is famously hilly. If your gate sits on a grade of even 5 degrees, gravity is working against your opener every single cycle. That means hinge bushings on swing gates, track rollers on slide gates, and motor gears on both wear faster than they would on flat ground. If your gate is on a slope, shorten your inspection interval from 90 days to 60 days. It’s a small adjustment that catches failures before they strand your car in the driveway.
Material-Specific Corrosion Checks for Yonkers Gates
Yonkers gets real winters. Road salt, freeze-thaw cycles, and the damp air off the Hudson River all take a toll on gate materials. But how they take a toll depends entirely on what your gate is made of. Here’s what to look for by material.
Wrought iron is the classic material on older Yonkers homes, and it’s simultaneously the most beautiful and the most corrosion-prone gate material in existence. Wrought iron gates from the 1920s through 1960s are common in Park Hill and along Shonnard Terrace, and many have been repainted multiple times. The failure points are predictable: the bottoms of the pickets where water pools, the scrollwork joints where two pieces were forge-welded together, and any area where the paint has chipped. When you inspect a wrought iron gate, run your hand along the bottom rail and the lower pickets. If you feel bubbling under the paint, that’s rust forming beneath the surface. Address it before winter. Also check the hinge welds: these are load-bearing, and rust there is structural, not cosmetic.
Powder-coated aluminum is what we see on most modern Yonkers installations, especially in newer developments and on homes built since about 2000. Aluminum doesn’t rust, but the powder coating can fail in two ways. First, the coating can chip at the corners and edges, exposing the bare metal underneath. Second, and this is one we see a lot in Yonkers specifically, the stainless steel hardware (hinges, bolts, brackets) can react with the aluminum in the presence of salt air, causing galvanic corrosion around the fastener holes. Look for white, chalky residue around any screw or bolt head. That’s the aluminum sacrificing itself to protect the stainless steel. The fix is usually simple: replace the fastener, clean the area, and touch up the coating. But left alone, it’ll eat a hole through the gate frame.
Wood-framed gates are a smaller share of what we repair, but they pop up on older Tudor and Colonial homes throughout Yonkers. Wood gates fail at the joints. Check the corners where rails meet stiles, the hinge screws (which strip out over time), and the bottom of the gate where standing water soaks upward. If the gate feels “soft” when you push on it, the internal frame is rotting. At that point, you’re looking at a rebuild, not a repair. For all three materials, the maintenance log you keep (see the section on logging below) becomes extremely valuable because it tells you whether a particular corrosion spot is new or has been growing for six months.
If your gate is already beyond routine maintenance, our Gate Repair in Yonkers service walks you through exactly what we check and how we quote it.
The 90-Day Inspection: Six Components to Check Every Quarter
Set a phone reminder for every 90 days. Run through these six checks in order, and the whole routine takes about 20 minutes. If you find something questionable, log it and keep an eye on it. If you find something broken, call before it strands you.
- Hinges and pivot points (swing gates) or track rollers (slide gates). Grab the gate at the far end and try to lift it. Movement of more than about 1/8 inch means a bushing or roller is worn. Listen for grinding or popping when the gate moves. On slide gates, inspect the track for debris, and check the rollers for flat spots. A flat-spotted roller chews up the track within weeks.
- Chain or belt tension. On chain-drive openers (common on many Viking and DoorKing models), press down on the chain midway between the sprockets. It should deflect no more than about 1/2 to 3/4 inch. Too slack and the chain can jump the sprocket. Too tight and you’re loading the motor shaft and bearings prematurely. Belt drives should have slight deflection but no visible cracking or glazing on the belt surface.
- Safety sensors (photo eyes and edge sensors). These are the sensors that stop or reverse the gate when something crosses its path. Test them once a quarter by waving a broom handle in the gate’s path while it closes. The gate should stop and reverse immediately. If it doesn’t, the sensors are misaligned, dirty, or failed. This is a safety issue, not an inconvenience. A gate that ignores its safety sensors can injure a child or a pet.
- Limit switches. The limit switch is the small sensor that tells the gate when to stop at the fully open and fully closed positions. If your gate slams at the end of travel, overshoots, or reverses back open randomly, the limit switches are the first suspect. They’re inexpensive parts, but calibrating them wrong causes cascading problems. If you’re not sure, log the symptom and call someone who is.
- Fastener tightness. Gates vibrate. Every cycle, thousands of times a year, the gate shakes its own bolts loose. Go around the gate with a socket set and check the bolts on the hinges, the opener mount, the chain brackets, and any U-bolts on the track. A loose opener mount is one of the most common causes of premature motor failure we see in Yonkers, because the opener twists under load and torques its own gearbox.
- Electrical connections and wire condition. Look at where the wire enters the opener housing, the control box, and any junction boxes along the run. Check for cracked or brittle insulation, signs of water intrusion, or corrosion on the terminals. Ants and mice are also real problems in Yonkers control boxes: they nest in the warmth and their bodies short out circuit boards. If you see any sign of pests, vacuum the box out and consider sealing the conduit entry point.
Everything on this 90-day list is checkable without special tools. The only one that requires care is the limit switch check, and even that is observational. If you find something on this list that’s broken, it’s better to call before it fails completely, because a failed component usually takes a second component with it. Our Gate Repair Permits, Codes & Inspections in NY: What You Need to Know guide covers when professional inspection is legally required. A bad roller ruins a track. A loose chain ruins a motor. These cascade failures are how a $150 repair becomes an $800 replacement.
The Annual Inspection: Three Components That Only Need Yearly Attention
Once a year, go deeper. These three checks involve opening the opener housing, which means killing power to the unit first. If you’re not comfortable working around electrical equipment, this is a good time to have a professional handle it. High-tension springs and closing mechanisms on gates can store enough energy to cause serious injury, so never reach into a motor housing or spring compartment while the unit has power.
- The motor’s internal gear and drive shaft. Open the opener cover (breaker off first) and look at the main drive gear. If it’s metal, look for a silver paste building up around the teeth, that’s metal dust from normal wear, but excess paste means the gears are grinding themselves down. If it’s plastic or nylon (common on Ghost Controls and many residential Elite models), look for chipped or flattened teeth. This is the part that fails when an opener gets old or when it’s been over-tightened. If the gear looks worn, replacing it now costs a fraction of replacing the motor after it seizes.
- The control board and capacitor. Look for bulging or leaking capacitors (they look like small cylinders standing upright on the board). A bulging cap is about to fail. If your opener has been occasionally unresponsive, resetting itself, or behaving inconsistently, a failing capacitor is often the cause. On Viking and DoorKing control boards, check for darkened areas around the power input terminals, which indicate heat damage. Note anything suspicious in your log.
- Gate alignment and overall geometry. Over a year, a gate can drift out of square due to post movement, ground settlement, or simply thousands of open-close cycles. Stand back and look at the gate from the street. Is the gap between the gate and the fence post the same at the top and bottom? Does the gate sit parallel to its track or throw? A gate that’s drifted 1/2 inch out of square is putting extra load on everything: hinges, motor, limit switches. On slopes, this drift happens faster. If you notice significant drift, have it corrected; the longer it runs out of alignment, the more parts it wears down.
The annual check is also the right moment to pull out your maintenance log from the past year and review it. Look for patterns: are you tightening the same bolt every quarter? Is a particular sensor needing cleaning more often? Patterns tell you what’s about to fail, and they save you from a surprise breakdown on a January morning when the gate refuses to open and the plow guy just left a berm at the foot of the driveway.
Correct Lubricants by Component: Chain, Hinge, Rack, and Limit Switch
Most gate damage we see isn’t from neglect, it’s from wrong-kind lubrication. Here’s exactly what to use on each component, and what to avoid. If you only remember one thing from this entire guide: WD-40 is a solvent, not a lubricant, and it has no business on a gate opener.
- Chain drive (Viking, DoorKing, and most residential slide openers): Use a dry-film lubricant designed for roller chains, or a dedicated garage door/gate chain spray. Apply it sparingly to the inside of the chain while the gate cycles slowly. Wipe off the excess. Never use grease, and never use WD-40. Grease attracts grit, which acts like sandpaper on the sprockets. WD-40 dissolves the manufacturer’s factory coating and leaves the chain running metal-on-metal.
- Hinges and pivot points (swing gates): A white lithium grease spray works well here, as does a silicone-based lubricant. Apply one short blast to each hinge pin twice a year, then cycle the gate once to work it in. For wrought iron gates with older, larger hinges, a light machine oil penetrates deeper into the pin and bushing.
- Rack and pinion (slide gates): Depending on the model, some racks run dry by design; lubricating them attracts dirt that accelerates wear. Check your opener’s manual. If lubrication is recommended, use a dry PTFE spray. If the manual doesn’t say, leave it alone. We see more problems from over-lubricated racks than from under-lubricated ones in Yonkers, where road dust and pollen are constant contaminants.
- Limit switches and sensors: Do not lubricate these. Limit switches are electrical contacts; any lubricant increases the chance of false readings and intermittent failures. If a limit switch is sticking, it’s a replacement part, not a lubrication problem. Safety sensors should only be cleaned, never oiled, a dry microfiber cloth is all you need.
If you own a Gate, Ghost Controls, or Elite unit and you’re not sure what your specific model calls for, the owner’s manual is the right source, and it’s usually findable as a PDF with a quick search. Alternatively, our electric gate repair team can identify the right lubricants on a single service call so you never have to guess. More on that here: Electric Gate Repair in Yonkers.
How to Log Maintenance So a Technician Can Skip the Guesswork
Most homeowners don’t keep a maintenance log for their gate, and it costs them real money. Here’s the situation we see over and over: a Yonkers homeowner calls us because their gate stopped working. We arrive, start diagnosing, and the homeowner says something like, “Well, it’s been making a clicking sound for a few months now, and I tightened a bolt last spring, and I think I sprayed something on it last fall.” That’s an hour of technician time spent reconstructing a history the homeowner could have written down in ten seconds. That hour isn’t free.
A maintenance log doesn’t need to be fancy. A note on your phone, a simple spreadsheet, or even a paper notebook in the garage works. What matters is that you record the right things:
- Date of each inspection or maintenance action
- What you checked (even if everything was fine)
- What you found (even if nothing was wrong)
- What you did (adjusted, lubricated, tightened, replaced)
- Any product you used (brand and type of lubricant, specific replacement part)
- Any symptom you noticed (noise, hesitation, gate drifting, sensor false positives)
The value compounds. When you call us for a repair, and you can pull up a log that shows “tightened left hinge bolt in March, June, and September,” that’s a smoking gun. It tells us the hinge threads are stripped or the bushing is worn in a way that keeps working the bolt loose, and we can go straight to the fix instead of recreating your history from scratch. It also gives you a baseline for wear. If you documented that the chain deflection was 1/2 inch in January and it’s 1 inch by July, you know exactly how fast it’s degrading, and you can schedule a replacement before it jumps a sprocket.
On a related note, if you’re not sure whether a clicking noise is normal, or you’re hearing something new and you can’t identify it, that’s exactly the kind of call we’re happy to take. Our Gate Opener Repair in Yonkers service exists for that reason: a quick diagnosis that saves you from a full failure.
Common Mistakes to Avoid
- Spraying WD-40 on a chain drive. Already covered, but worth repeating because it’s the single most common mistake we see. WD-40 strips the factory coating and leaves the chain vulnerable. If you’ve already done it, don’t panic, just apply a proper dry-film chain lubricant soon, before the chain starts wearing against the sprockets.
- Lubricating the rack on a slide gate that’s designed to run dry. This attracts the grit and pollen that Yonkers air is full of every spring and fall, turning your rack into a grinding paste. Check the manual before adding anything.
- Ignoring a gate that’s become noisy. A gate that used to be quiet and now isn’t, is telling you something. Noise is the earliest warning sign of wear, and the cheapest time to intervene is right then, not after the component fails.
- Over-tightening a chain to “fix” a slipping gate. If your gate slips, the problem is usually a worn sprocket or a failing motor capacitor, not insufficient chain tension. Over-tightening the chain simply destroys the motor bearings faster. Check the belt or chain spec in your manual, or call someone who knows the spec.
- Tampering with limit switches without knowing the calibration. Limit switches seem simple, but a miscalibrated limit switch can cause the motor to run against the mechanical stop at full force, which strips gears and burns out motors. This is one of those components where a small mistake creates a big bill.
- Deferring safety sensor repairs. A gate that fails to reverse when something crosses its path is a lawsuit waiting to happen, and in Yonkers, where gates open onto sidewalks and streets, the stakes are even higher. Never disable a safety sensor to get the gate working again. Not even temporarily.
When to Call a Professional
Some things on this checklist are DIY-friendly: inspecting, cleaning, tightening, logging. Others are not. If your gate’s motor is making a grinding noise, if the gate fails to reverse on the safety sensors, if you see broken or frayed wires, or if the gate has drifted visibly out of square, call a professional. Gate openers contain stored mechanical energy, and a spring-loaded hinge or counterbalance can cause serious injury if handled incorrectly. Calder Gate Repair Yonkers offers free estimates in Yonkers, including on-site diagnosis. Call (585) 496-2148 and a live person answers, 24/7. We’ll give you a written price before any work starts, and you’ll know exactly who’s coming and when, down to a live, trackable arrival time. For the full scope of what we do, start on our Calder Gate Repair Yonkers home page.
Frequently Asked Questions
Every 90 days for the six checks we listed above: hinges or rollers, chain or belt tension, safety sensors, limit switches, fastener tightness, and electrical connections. Homes on steeper Yonkers slopes should shorten that to 60 days. The annual deep-check (motor gear, control board, alignment) happens once a year. Neither routine takes more than about 20 minutes once you know what to look for.
A swing gate opener uses a linear arm to push or pull the gate open on hinges, like a door. A slide gate opener uses a motor with a gear that drives the gate along a track or roller system, like a sliding barn door. In Yonkers, swing gates dominate the older neighborhoods, while slide gates are more common on newer, flatter lots where driveway space is tight.
It can, and we see more of it every year. Road salt spray and the damp air off the Hudson accelerate corrosion on exposed metal parts, especially on wrought iron gates and on the brackets and fasteners of powder-coated aluminum gates. The motor itself is usually sealed, but the wiring, terminal connections, and external hardware are vulnerable. A quick inspection each spring catches salt corrosion before it becomes structural.
Yes, for the chain, hinges, and pivot points, using the right product. A dry-film chain lubricant for the chain, white lithium or silicone spray for hinges, and nothing on the limit switches or safety sensors. If you’re not sure what your specific opener calls for, or you don’t want to risk using the wrong product, call us and we’ll identify it in one visit.
DIY maintenance costs whatever a can of dry-film chain lubricant and a tube of white lithium grease run at the hardware store. If you’d rather have a professional do the 90-day and annual inspections, most Yonkers gate companies charge in the $150 to $300 range for a standard service visit, depending on the gate type and opener model. Replacement parts are extra. Calder Gate Repair Yonkers quotes a written price before any work starts, so you’ll never see a surprise number. Call (585) 496-2148 for a free estimate.
First, check the obvious: is the opener getting power, and are the safety sensors aligned and clean? If both check out and the gate still won’t respond, the problem is likely the control board, a limit switch, or a failed capacitor, and those aren’t DIY fixes. Call (585) 496-2148. We answer live around the clock, and we’ll get a technician to your Yonkers home with a real arrival time, not a vague window.
The Bottom Line
Your gate isn’t a generic machine, and your maintenance checklist shouldn’t be generic either. Swing gates on Yonkers hills need more frequent hinge checks. Wrought iron gates need rust vigilance every spring. Slide gates need clean tracks and dry racks. Chain drives need the right lubricant, and the wrong spray can do more damage than no spray at all. Follow the 90-day and annual routines in this guide, keep a simple maintenance log, and address problems the week you notice them, not the week the gate stops moving. Browse our more guides & resources for gate owners across Westchester County. Calder Gate Repair Yonkers is here for the bigger jobs, whether it’s a full opener replacement or a gate that’s drifted out of square. Call (585) 496-2148 for a free estimate, and you’ll get a written price before any work begins.
Written by Nico Alvarez, Owner at Calder Gate Repair Yonkers, serving Yonkers since 2009.
See the difference
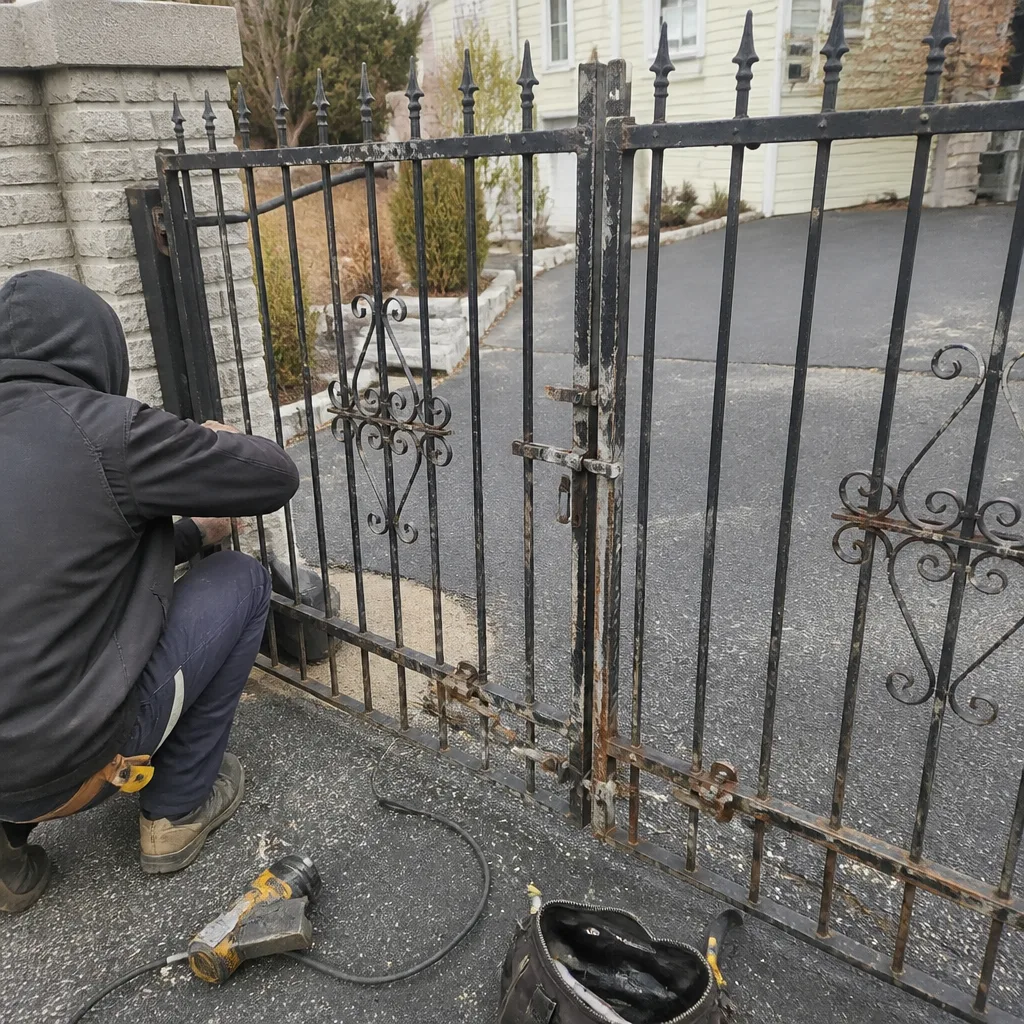 Before
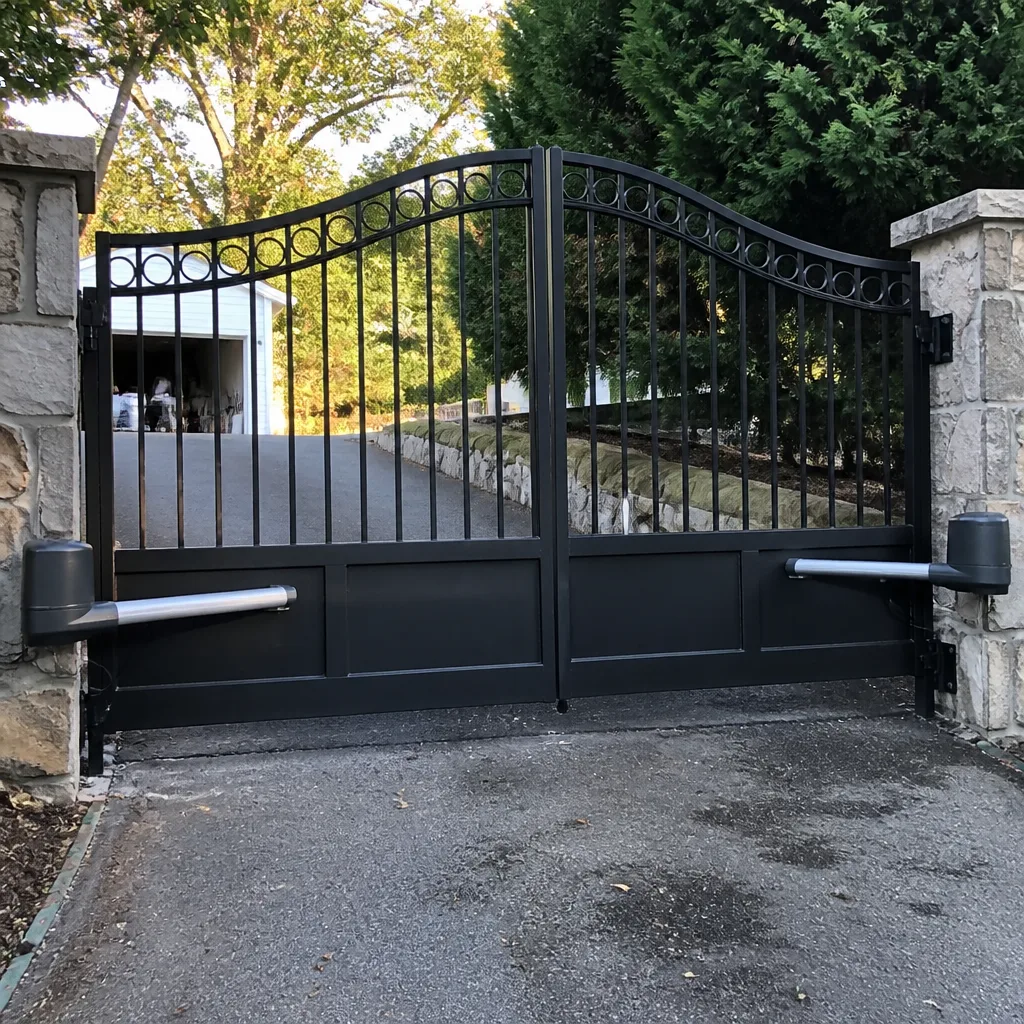 After
After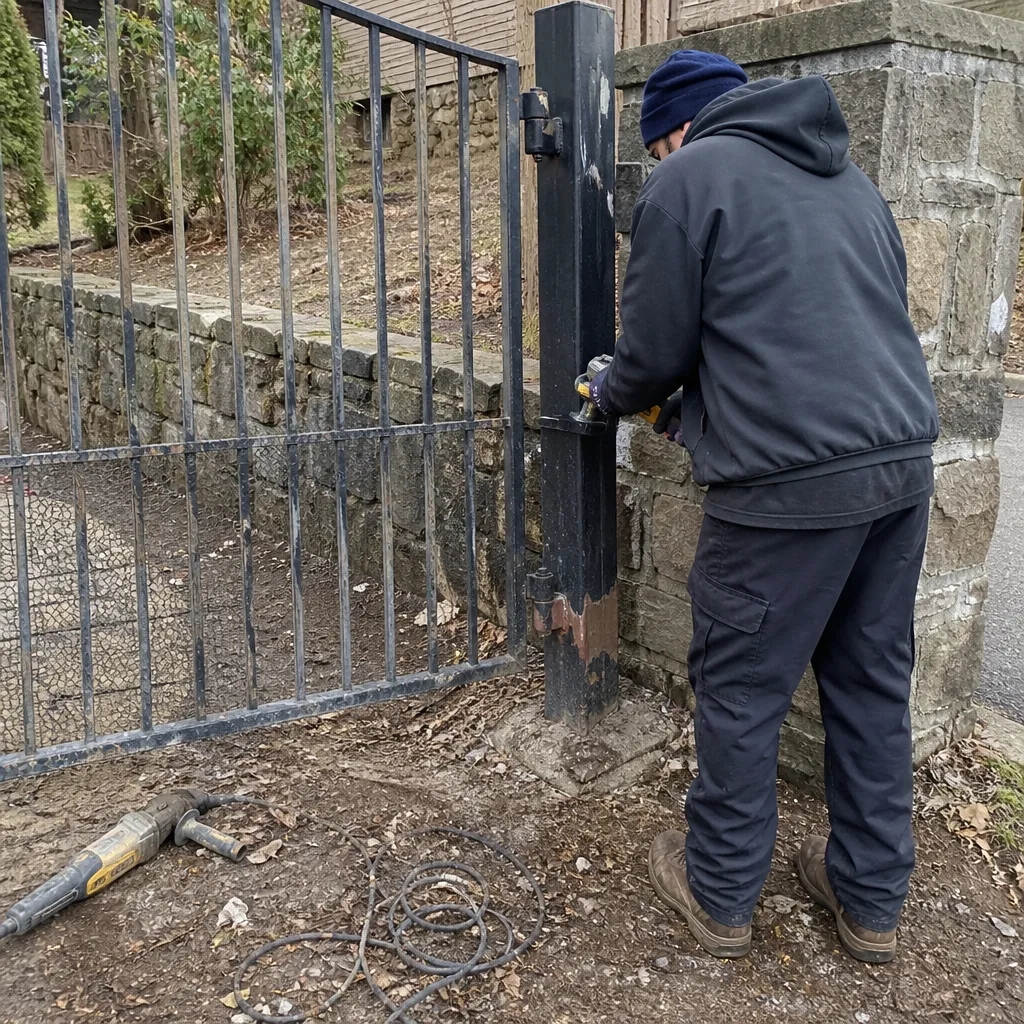 Before
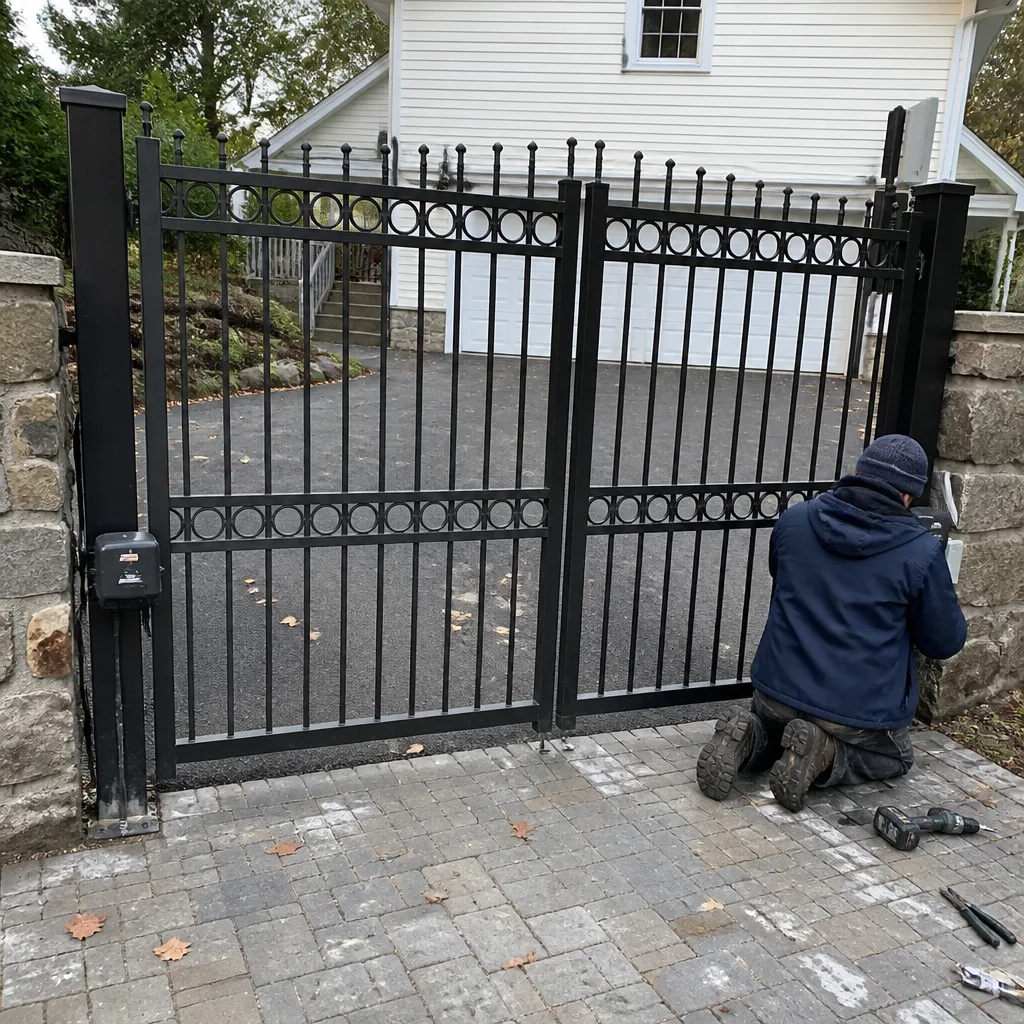 After
After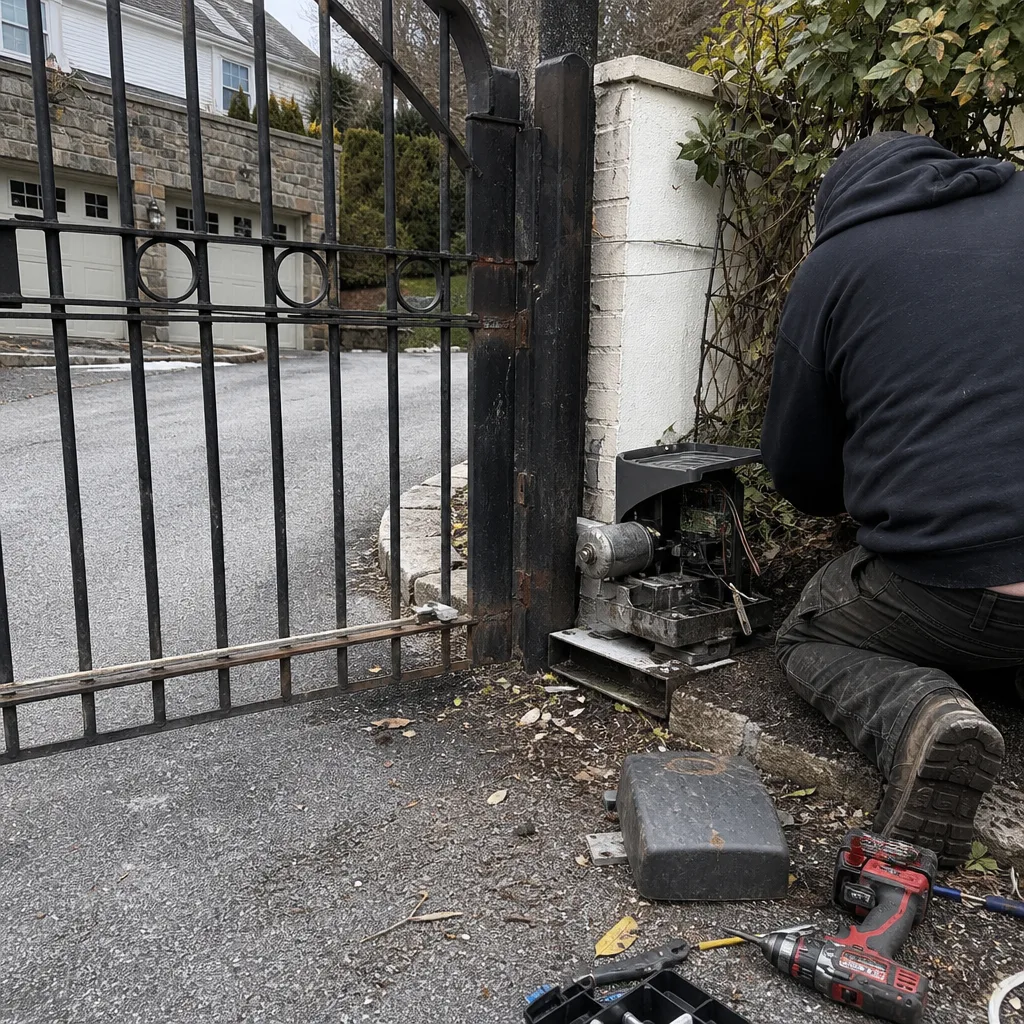 Before
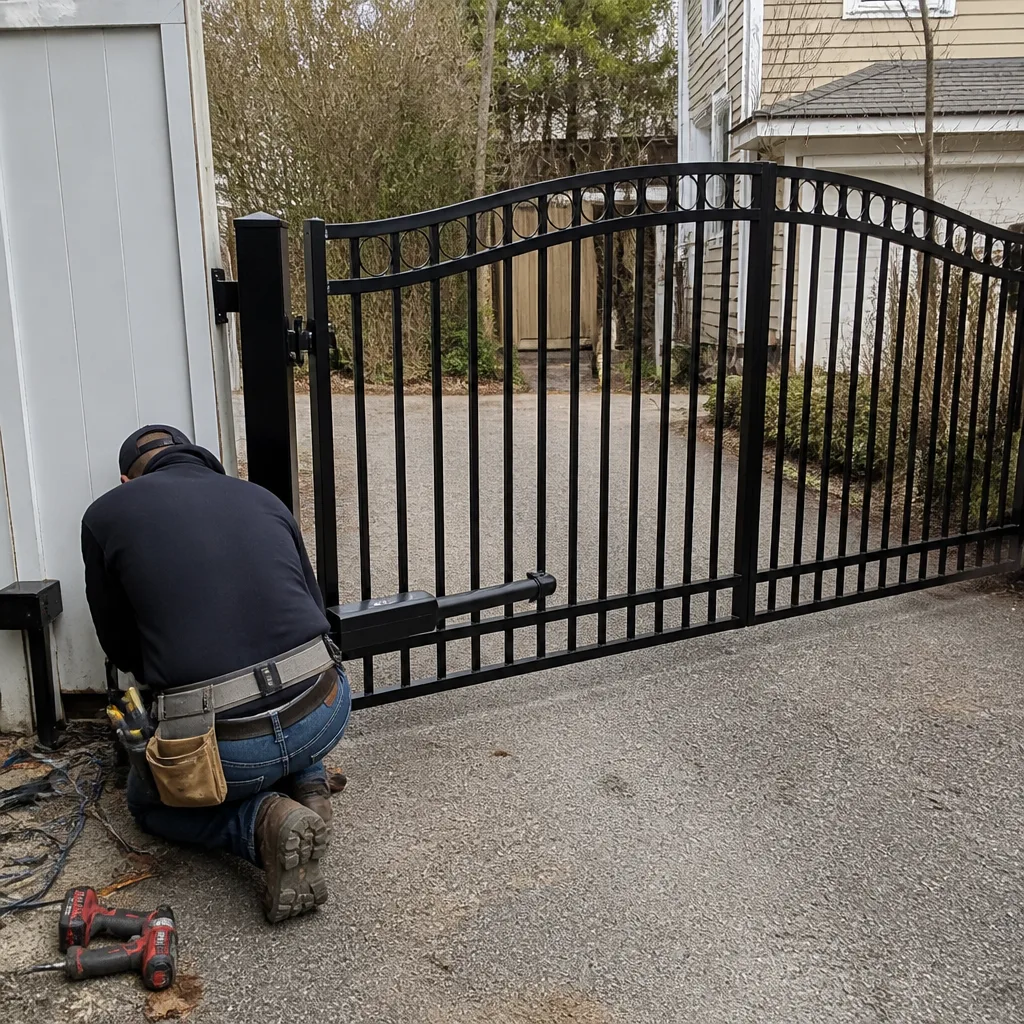 After
After